Safe demolition and dismantling is vital for home, office and commercial renovation projects. Removing old tiles, damaged fixtures, unwanted partitions and outdated installations creates room for new designs. However, poorly managed demolition can damage structural elements, expose workers to hazards and increase renovation costs.
For this reason, safe demolition and dismantling should be carefully planned and coordinated with the renovation work that follows. A professional approach protects people, property and the project budget while preparing the site for reconstruction.
What Is Demolition and Dismantling?
Demolition involves removing or breaking down building elements, while dismantling means taking components apart in a controlled manner. Where practical, dismantled materials may be reused, recycled or separated for appropriate disposal.
During residential and commercial renovations, demolition and dismantling may involve:
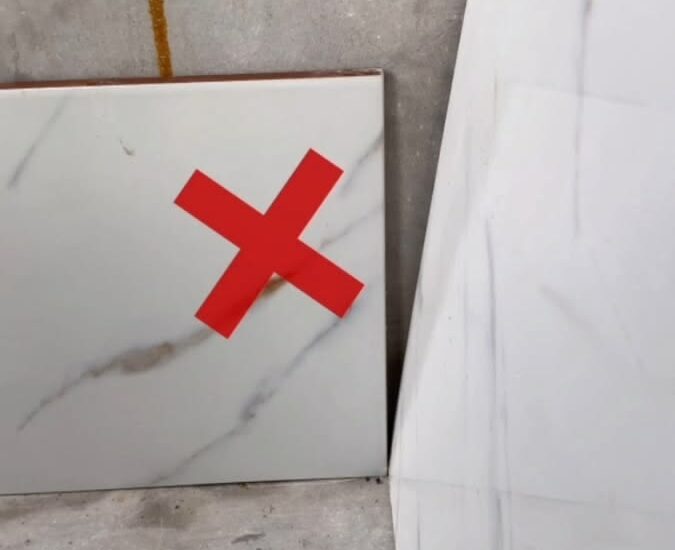
- Removing old floor and wall tiles
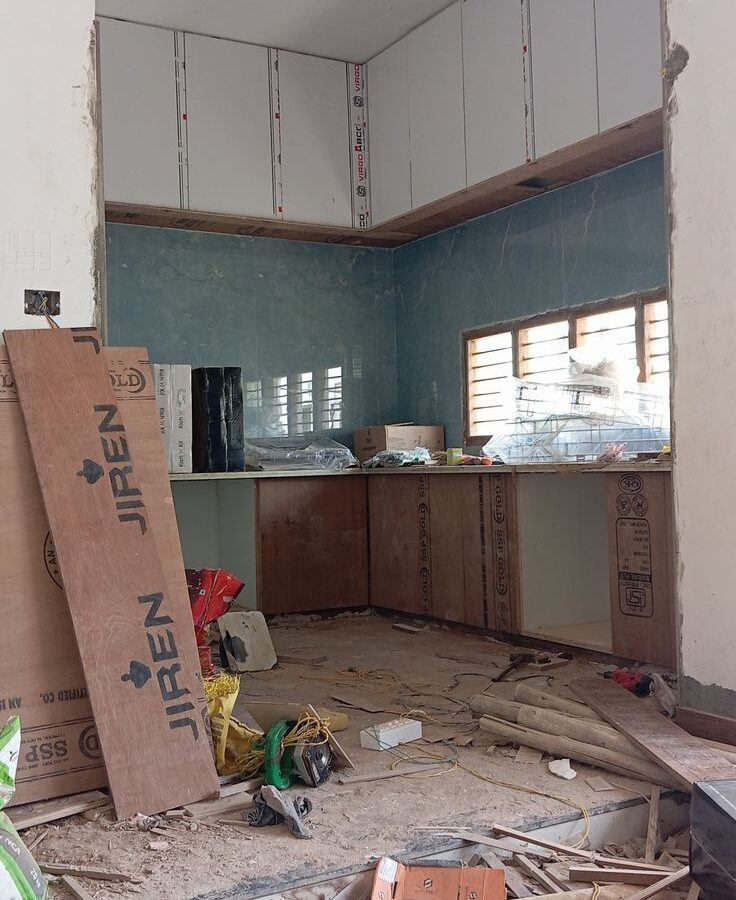
- Dismantling kitchen cabinets and wardrobes
- Removing bathroom fixtures and fittings
- Taking down non-structural partitions
- Removing ceiling boards and selected finishes
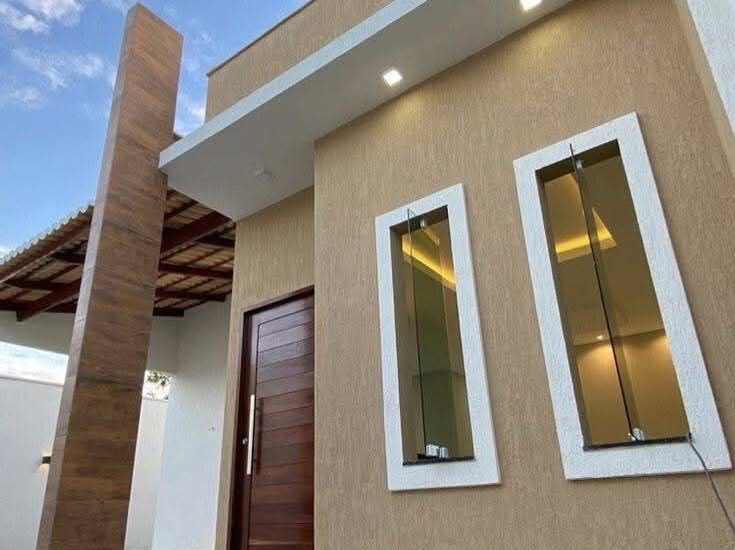
- Replacing old doors, windows and frames
The scope of work depends on the property’s condition and the approved renovation plan. Structural walls, beams, columns and slabs must not be removed or altered without an appropriate professional assessment.
1. Start With a Professional Site Inspection
Before demolition begins, the renovation contractor should inspect the property and identify which materials must be removed and which elements must remain.
The assessment should consider the building’s condition, access routes, neighbouring properties, existing utilities and potential hazards. Where structural changes are proposed, a qualified structural engineer should assess the affected areas.
A clear demolition plan reduces the risk of damaging retained finishes, concealed services and surrounding structures. It also helps the project team estimate labour, equipment, waste disposal and preparation costs.
2. Protect Workers, Occupants and Property
A safe demolition site requires suitable preparation, equipment and supervision. Depending on the project, precautions may include:
- Establishing restricted work zones and clear access routes
- Providing appropriate personal protective equipment (PPE)
- Controlling dust, noise and falling debris
- Protecting floors, retained fixtures and nearby finishes
- Maintaining suitable lighting and ventilation
- Using tools and equipment appropriate to the task
- Keeping emergency exits and escape routes clear
Occupants may need to leave the affected area while certain high-risk tasks are carried out.
If suspected asbestos-containing materials or other hazardous substances are discovered, stop disturbing them and arrange assessment by qualified specialists. Such materials should not be handled as ordinary construction waste.
3. Remove Materials in the Correct Sequence
Professional demolition contractors follow an agreed method rather than removing materials randomly. The sequence should protect the stability of the building and prevent damage to areas that are being retained.
Careful dismantling can also preserve reusable components, including selected doors, fittings and cabinetry. For larger renovation projects, demolition should be coordinated with plumbing, electrical, masonry and finishing teams to ensure each stage takes place in the correct order.
4. Manage Construction Waste Responsibly
Demolition can produce tiles, plaster, timber, metal, glass, packaging and other debris. These materials should be collected, handled and transported safely.
Where practical, reusable and recyclable materials should be separated from general waste. Remaining debris should be taken to an appropriate authorised disposal or recovery facility in accordance with applicable local requirements.
Waste should never be left where it blocks stairways, access roads, drainage channels or emergency exits. Before work starts, confirm whether the quotation includes loading, transport, disposal fees and site cleaning.
5. Prepare the Site for the Next Renovation Stage
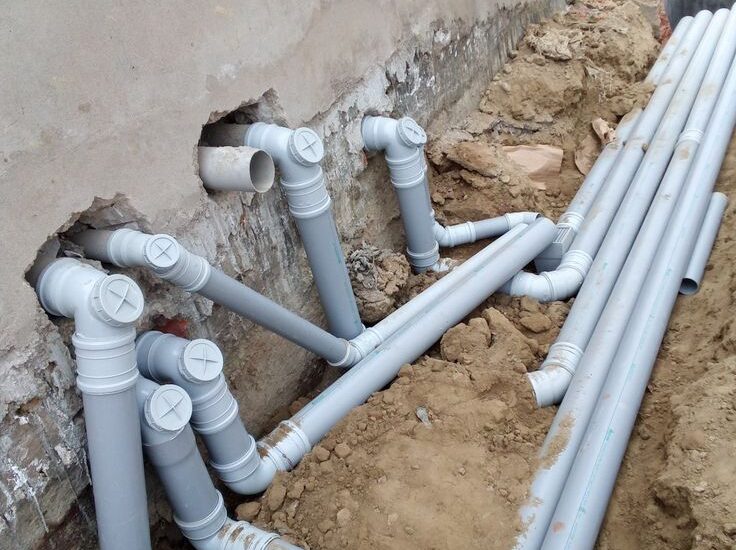
After dismantling, the contractor should inspect exposed walls, floors, ceilings, pipework and electrical routes. Depending on the project, the next stages may include plumbing upgrades, electrical installation, waterproofing, partition construction, floor screeding, tiling, cabinetry and painting.
Proper site preparation helps identify hidden defects early and reduces the risk of covering up problems that could affect the finished renovation.
Why Choose Renovation Kenya for Turn-Key Renovation Projects?
Renovation Kenya helps homeowners and businesses explore renovation services and plan property improvements. A turn-key renovation approach aims to coordinate the project from initial assessment and demolition through repairs, installations, finishing and final inspection.
By planning the work in advance, property owners can establish a clearer scope, identify potential risks and understand the responsibilities involved at each stage.
For coordinated interior renovation and finishing services, Suimas Interiors can also be contacted to discuss project requirements.
Plan Your Demolition and Renovation Project Safely
Before demolition begins, arrange a site assessment, confirm the removal plan and establish which structural, electrical and plumbing specialists are required. Request a written quotation that clearly explains the work, safety measures, waste management and exclusions.
Contact Us for renovation enquiries:
- Call or WhatsApp: 0717 044 443 / 0739 255 050 / 0725 021 709
- Email: info@suimas.co.ke
Related Post Resources
- Residential Renovation Contractors in Muthaiga
- Best Materials for Wall Renovation in Kenya
- Cost of House Renovation in Lavington
- Suimas Building Renovation Services
- 10 House Renovation Mistakes Homeowners Make in Kenya
- How Much Does It Cost to Renovate a 4-Bedroom House in Nairobi?
- Club and Lounge Renovation in Nairobi