Replacing old flooring can transform a home or commercial space, improving its appearance, comfort and ease of maintenance. However, a successful flooring renovation involves more than selecting attractive tiles or vinyl planks.
The existing floor must be assessed, the correct materials selected and the underlying surface prepared before installation. Understanding the process helps homeowners plan their budget, protect furniture and reduce disruption.
1. Inspect the Existing Floor
The first step is to determine the condition of the current flooring and the surface beneath it. Look for loose tiles, cracked grout, hollow-sounding areas, lifting vinyl, damaged laminate, damp patches and uneven sections. These signs may indicate installation defects or problems with the underlying screed.
A contractor should also check for moisture where relevant. Installing new flooring over unresolved dampness can lead to adhesive failure, mould or further damage.
2. Choose the Right Replacement Material
Different rooms have different requirements. Consider foot traffic, cleaning needs, moisture exposure, comfort, appearance and maintenance.
- Porcelain or ceramic tiles: Suitable for many Kenyan homes when the correct tile, adhesive and installation method are selected.
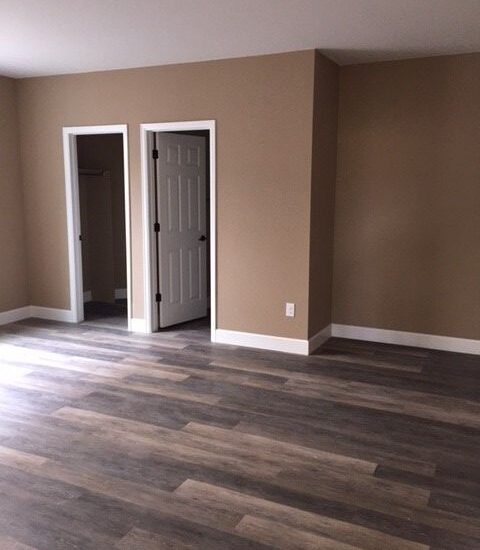
- Vinyl flooring: Available in different designs and formats, with some products offering water-resistant or waterproof performance according to their specifications.
- Laminate flooring: Can provide a wood-like appearance, but its suitability depends on the product and moisture conditions.
- Engineered or solid wood: Offers a natural look but requires attention to moisture, installation and maintenance.
- Epoxy flooring: May suit selected garages, commercial spaces and other appropriately prepared concrete surfaces.
Do not choose a floor based on appearance alone. Confirm that the product is suitable for the room and expected use.
3. Prepare the Room Before Work Begins
Remove furniture and personal items from the work area. Depending on the project, doors, skirting boards, appliances or sanitary fittings may need temporary removal.
Agree on the work schedule, access arrangements and waste disposal plan with the contractor. For occupied homes or operating businesses, discuss whether the work can be completed in stages.
Dust and noise are common during floor removal. Protect nearby rooms and furnishings, and make sure the work area is properly managed.
4. Remove the Old Flooring
The removal method depends on the material and how it was installed.
Old tiles may require breaking and lifting, while vinyl or laminate flooring may be removable in larger sections. Some existing floors can be retained beneath a new system, but only when the product manufacturer’s requirements and the condition of the substrate allow it.
Removal can reveal hidden defects such as cracked screed, dampness or uneven surfaces. These findings may affect the original budget and timeline, so allow for possible repairs.
5. Repair and Level the Subfloor
Subfloor preparation is one of the most important stages of flooring renovation.
The contractor may need to remove old adhesive, repair cracks, level uneven areas or allow moisture-related problems to be resolved. The surface must meet the requirements of the selected flooring system.
Skipping this stage can cause loose tiles, uneven joints, visible bumps or movement in floating floors.
6. Install the New Flooring
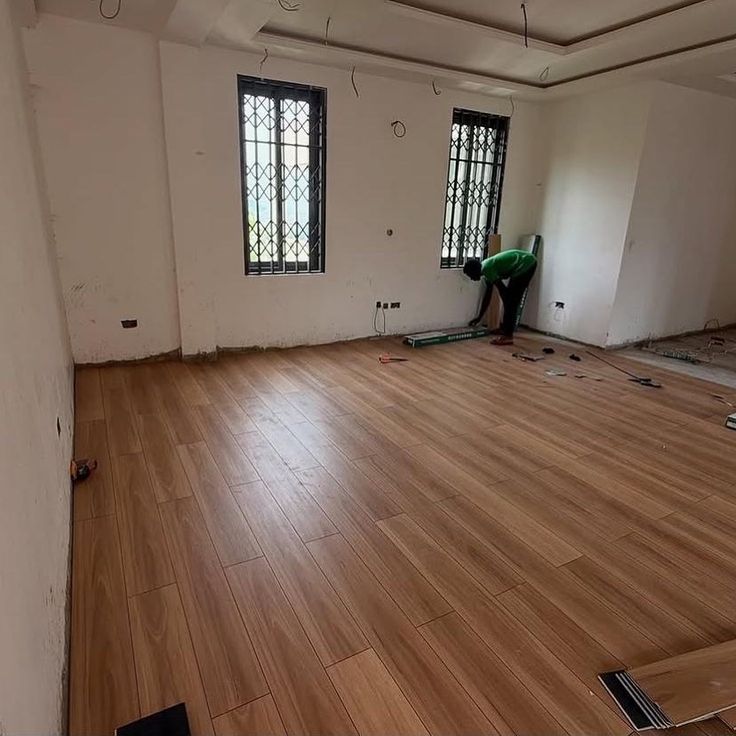
Installation varies by material. Tiles require suitable adhesive, correct spacing and grout. Vinyl may require a compatible adhesive or a specified click-lock system. Laminate generally needs an appropriate underlay and expansion gaps according to the manufacturer’s instructions.
Skirting, thresholds and transitions should be planned so that adjoining rooms have neat, safe edges. Follow the recommended curing or settling time before moving heavy furniture back into the room.
7. Final Inspection and Cleaning
Before accepting the work, check for cracked tiles, uneven edges, loose sections, inconsistent joints and damaged finishes. Confirm that doors open properly and that transitions between rooms are secure.
Ask the contractor for care instructions, cleaning recommendations and warranty information where applicable.
How Much Does Floor Replacement Cost in Kenya?
The final cost depends on floor area, material choice, removal and disposal, subfloor repairs, labour, skirting and installation complexity. A project involving damaged screed or moisture remediation will cost more than replacing flooring on a sound, level surface.
Talk to Renovation Kenya and Request a written BOQ that specifies the flooring product, quantity, wastage allowance, preparation, labour and finishing details.
Plan Your Flooring Renovation with Renovation Kenya
Renovation Kenya helps property owners explore renovation services and plan home improvements. They assist with flooring selection and coordinate floor finishes with painting, ceilings, cabinetry and other interior elements.
Request a Flooring Renovation Quote
Before buying materials, arrange an assessment of the existing floor and confirm the preparation work required.
Call or WhatsApp Suimas Interiors: 0717 044 443 / 0739 255 050 / 0725 021 709
Email: info@suimas.co.ke
Related Post Resources
- Residential Renovation Contractors in Runda
- How Long Does a House Renovation Take in Nairobi?
- Restaurant Renovation Contractors in Nairobi
- House Renovation Cost in Syokimau
- Restaurant Renovation in Westlands
- House Renovation Contractors in Ruaka
- Renovation Painting Services
- House Renovation Contractors
- Kitchen Renovation Cost in Karen
- 5-Bedroom House Renovation Cost in Nairobi